
In this article, I’ll walk you through exactly how I use Jenni AI to write research papers, essays, blog posts, and more. If you’ve never used Jenni AI before, this guide will help you get started in minutes, even if you’re completely new.
What Is Jenni AI?
Jenni AI is a writing assistant designed to help users with academic and creative writing tasks.
You can use it to:
- Write research papers and essays
- Cite sources in APA, MLA, IEEE, Chicago, and Harvard formats
- Autocomplete sentences or paragraphs
- Ask for suggestions to improve your writing
- Upload documents like PDFs for reference
- Work in multiple languages like English, Spanish, French, and Chinese
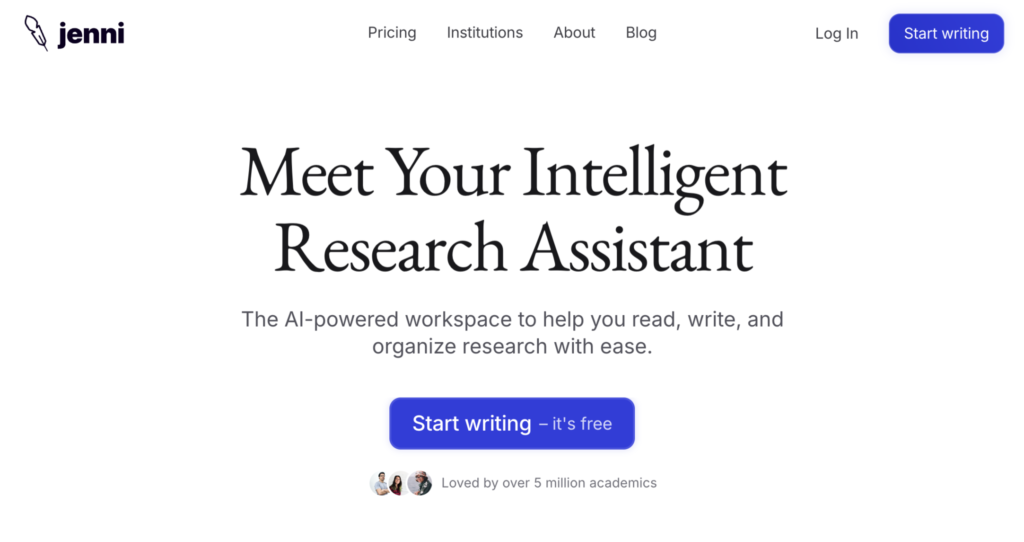
Step 1: Visit the Jenni AI Website
First, I go to the official website: jenni.ai
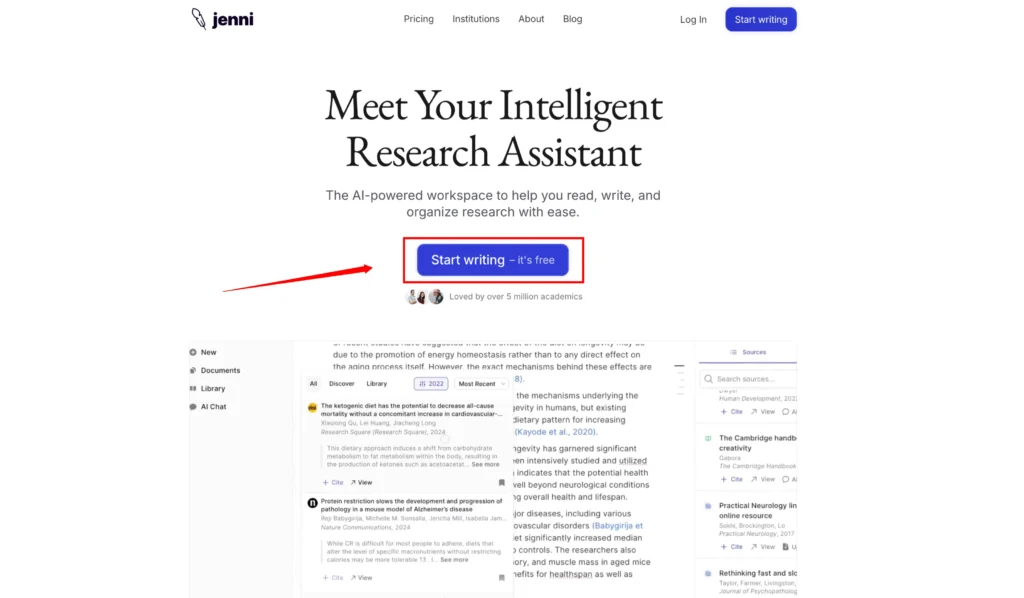
Once you’re on the homepage, you’ll see information about its features and how it’s trusted by top universities like:
| University | Location |
|---|---|
| University of Oxford | UK |
| Stanford University | USA |
| University of Pennsylvania | USA |
These endorsements help build confidence in the tool’s usefulness, especially for academic work.
Step 2: Explore What Jenni AI Can Do?
Here are the core features I find most helpful:
✍️ In-text Citation
I can upload PDFs and cite them in several styles:
- APA
- MLA
- IEEE
- Chicago
- Harvard
This is really helpful when writing academic papers where source referencing is essential.
⚡ AI Autocomplete
If I get stuck while writing, Jenni AI steps in with sentence or paragraph suggestions. I’ve found this especially useful during writer’s block.

💬 Chat With AI
This is like having a smart assistant for my writing. I can ask:
- “How can I improve my intro paragraph?”
- “What examples can I add to support my argument?”
It gives direct and useful responses based on my document.
📁 Upload Files
I can upload PDFs or other documents to use as a reference. Jenni AI reads them and suggests content based on those sources.
🗂️ Outline Builder & Language Support
It helps me create structured outlines and works in multiple languages:
- US English
- British English
- Spanish
- German
- French
- Chinese
Step 3: What You Can Use Jenni AI For?
Here’s a quick list of the types of writing Jenni AI supports:
- Essays
- Literature Reviews
- Research Papers
- Personal Statements
- Blog Posts
- Speeches
It’s flexible and works for both academic and professional writing.
Step 4: Sign Up or Log In
To get started, I click “Start Writing – It’s Free” at the top right or bottom of the homepage.
There are two options:
- Create an account manually (Full Name, Email, Password)
- Sign up with a Google Account
Since I already had a Google account, I just signed in that way.
Tip: You can use the free version initially. It allows up to 200 generations.
Step 5: Consider the Upgrade Options
If I want to unlock all features, I click Upgrade on the top menu.
| Plan Type | Key Features Included |
|---|---|
| Free Plan | 200 AI generations, limited citation options |
| Monthly / Annual Plan | Unlimited AI generations, citations, and full assistant access |
If you plan to write frequently, upgrading can be worth it.
Step 6: Explore the Dashboard
After logging in, here are the main sections I use:
📚 Library
- Stores all my saved citations
- I can organize them into folders
- I can upload external sources or import from BibTeX
💬 AI Chat
- I use this to get suggestions for rewriting or improving content
- Works like ChatGPT, but more focused on writing tasks
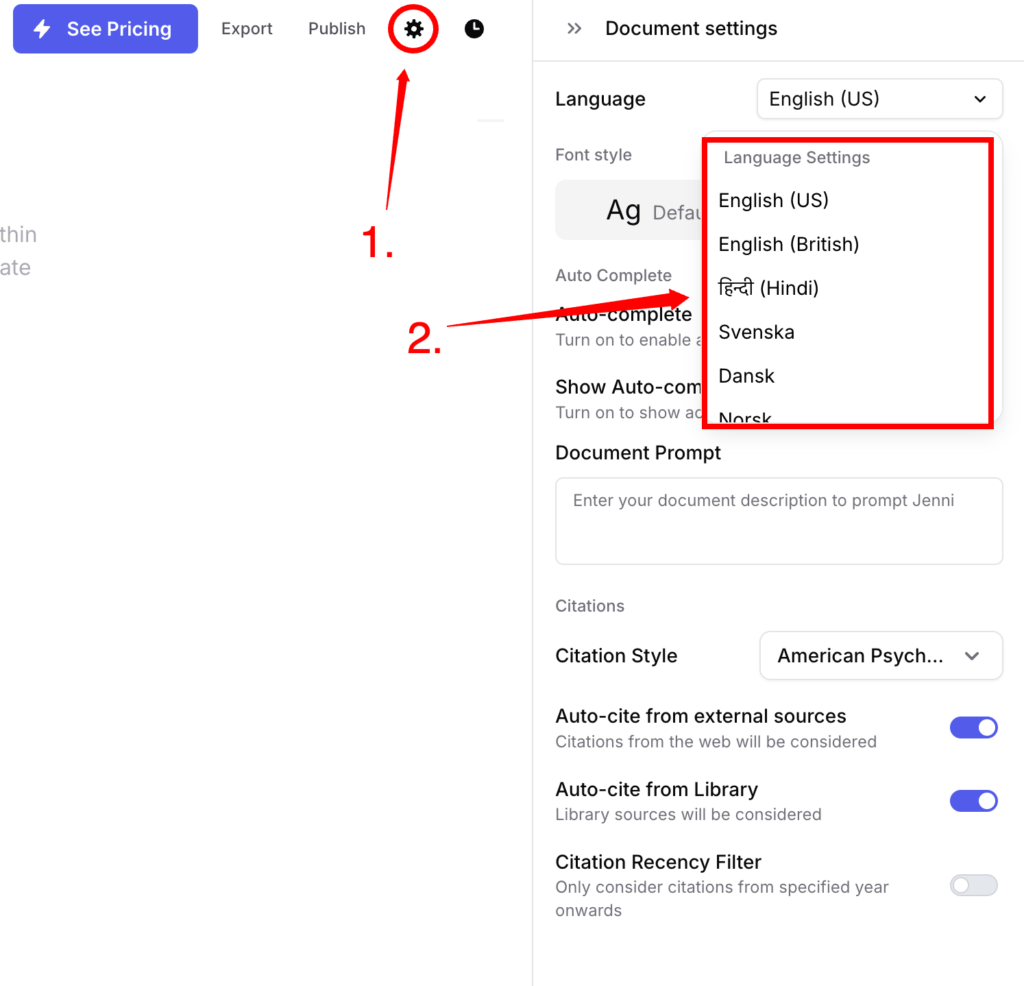
⚙️ Settings
From here, I can:
- Change language (Spanish, Chinese, German, etc.)
- Enable or disable autocomplete
- Choose citation style
- Allow automatic citation from sources
Step 7: Create a New Document
Here’s how I create a new writing project:
- Click “New Document”
- Enter the topic (e.g., Effects of Global Warming and What We Can Do to Solve It)
- Click “Start Writing”

Jenni AI will begin suggesting content right away based on the title.
When you start a new document, a dialog box pops up asking what you want to write. Jenni supports a wide range of content types, including:
- Blog posts
- Emails
- Reviews
- Research papers
Step 8: Writing with Jenni AI
Here’s how I interact with Jenni AI while writing:
- After entering the title, it starts writing the introduction
- I can hover over the suggestions and click “Accept” to use them
- After accepting, I press Enter to generate the next paragraph
- If I don’t like what it wrote, I can click “Try Again” for a new suggestion
It’s like co-writing with an assistant who never gets tired.
Step 9: Citing Sources
To include citations in my document:
- Upload a PDF or enter a URL to a source
- Jenni AI reads and stores the citation in the Library
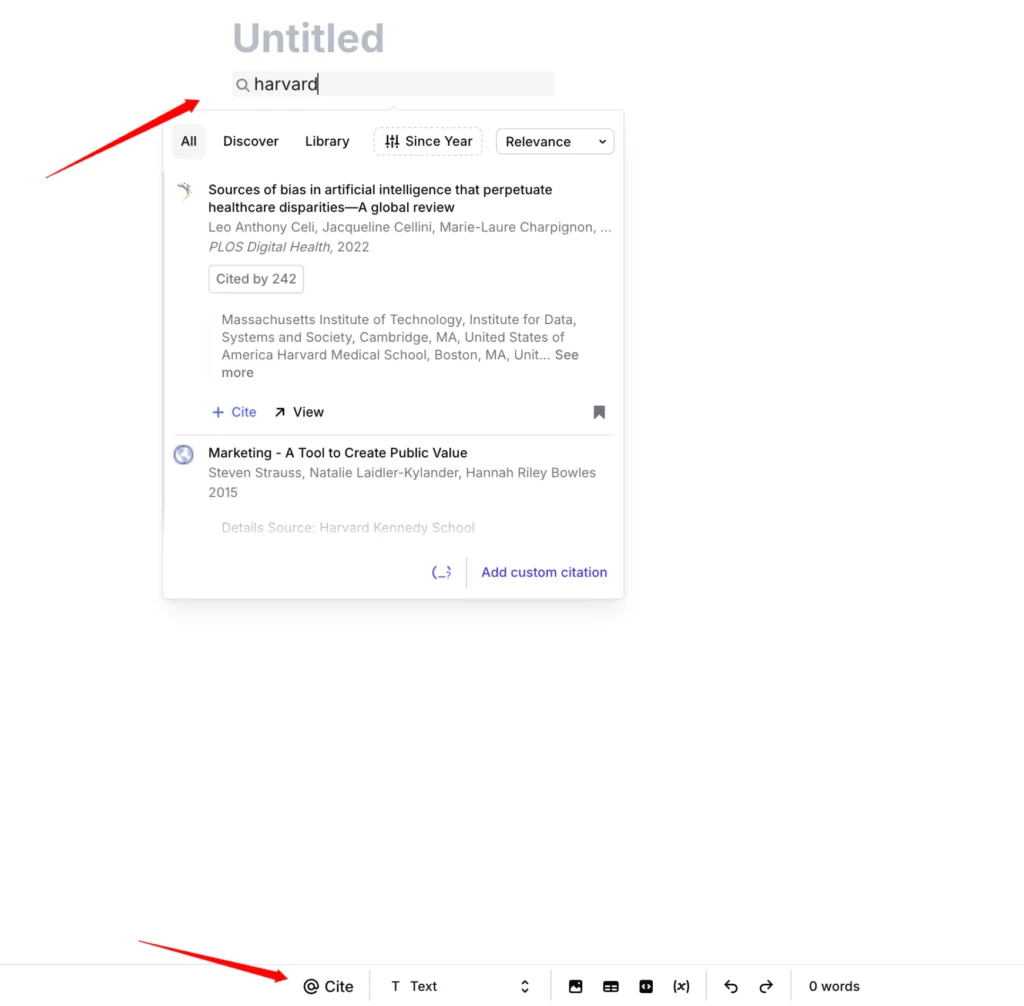
- While writing, I can insert citations using the Citation Tool
- Choose format: APA, MLA, Chicago, etc.

Just highlight the text and click “Cite.” Jenni will show you a list of related research papers. You can:
- Read the suggested papers
- Choose the best citation
- Add it directly to your draft
This saves a ton of time during formatting.
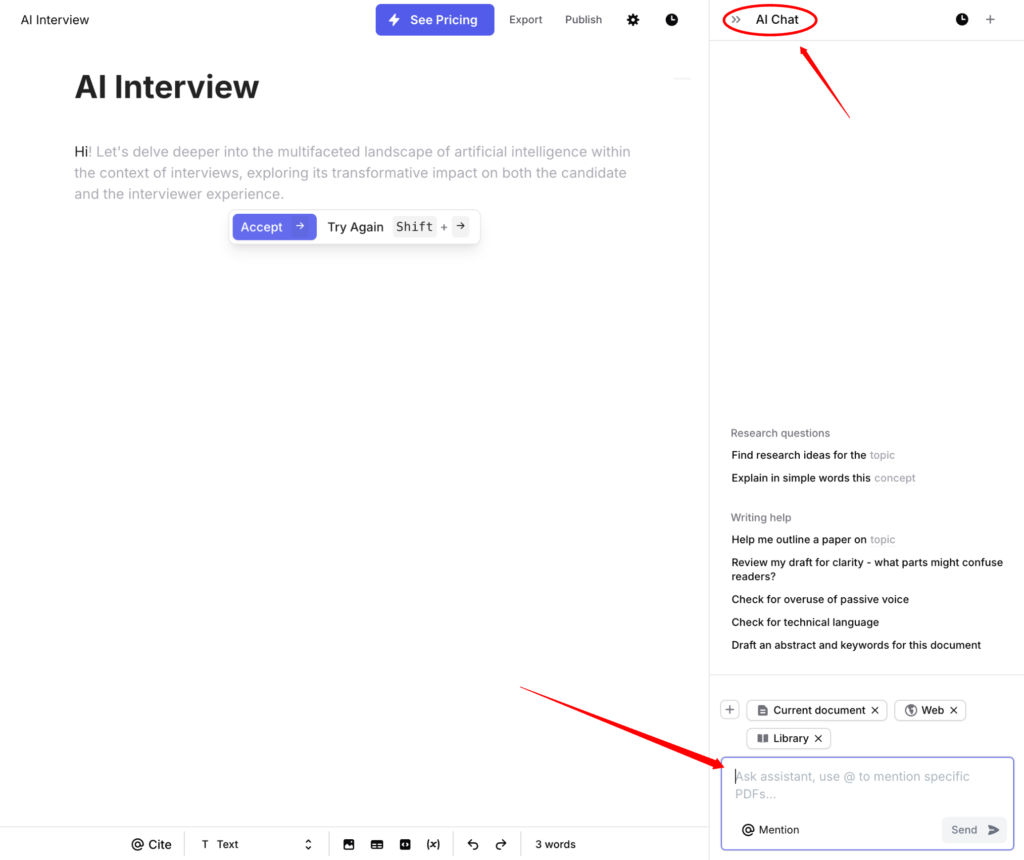
Step 10: Chat-Based Suggestions
Sometimes I want feedback on what I’ve written. Here’s what I do:
- Open AI Chat
- Type a question like: “Can you improve this paragraph?” or “What can I add about climate change effects?”
- Jenni AI gives clear and direct improvements
This has helped me revise my drafts faster.
Step 11: Autocomplete Options
Under settings, I turn on:
- Autocomplete suggestions
- Show autocomplete buttons
- Auto cite from new sources
These features help speed up the workflow and keep my paper consistent.
Step 12: Multilingual Support
For non-English papers, I can change the language from the settings. Jenni supports:
- English (US/UK)
- Spanish
- German
- French
- Chinese
I’ve tried writing summaries in Spanish and it worked well.
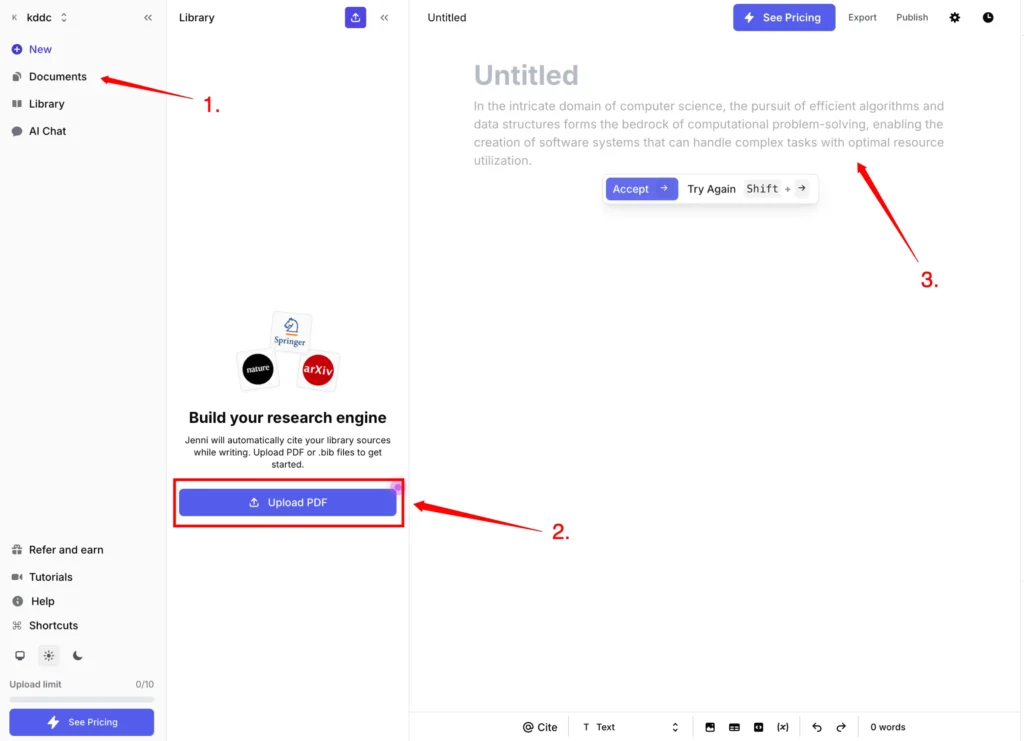
Step 13: Building a Library of Research Articles
One of Jenni’s standout features is the ability to create your own library.
You can add papers by:
- Uploading PDFs
- Importing bibliography files
Supported Sources
Jenni supports files from:
- Zotero
- Google Scholar
- Mendeley
Step-by-Step: Importing from Zotero
- Open Zotero
- Select papers to export
- Click Export > Bib format
- Upload the file into Jenni’s Library
Once added, these papers become part of your writing assistant. You can:
- Cite them directly in your draft
- Chat with the full text (if PDF is uploaded)
Step 14: Generating a Summary
If you’re working on a long document and need a brief overview, Jenni has a summarize option.
I use it to:
- Create abstracts
- Summarize individual sections
- Get quick overviews of research articles
Step 15: Exporting Your Document
After writing and citing everything, you can export your work in various formats:
- DOCX (Word)
- Markdown
- LaTeX

All references are included, so you’re ready to submit or polish your final version.
My Final Thoughts:
Using Jenni AI has made writing tasks easier for me, especially when working on long-form research papers or essays. From creating outlines to polishing citations, it covers everything I need in one place.
Summary Table: Jenni AI Key Features
| Feature | What It Does |
|---|---|
| In-text Citations | Automatically formats references in multiple styles |
| AI Autocomplete | Suggests sentences and paragraphs |
| AI Chat Assistant | Provides personalized writing help |
| Upload PDFs | Reads documents to assist with referencing |
| Document Organization | Create folders, upload resources, import BibTeX |
| Language Support | Works in multiple global languages |
| Free & Paid Plans | Free plan with limits, paid plan unlocks full access |
Conclusion
If you’re looking for a helpful assistant for academic or content writing, I definitely recommend giving Jenni AI a try. The free version is good enough to start with, and once you’re used to it, upgrading opens even more helpful tools.
Now that you’ve got the full step-by-step breakdown, go ahead and try writing your next paper with Jenni AI.
Leave a Reply